What to Do When Your Shingle Roof Is Leaking
If you need to repair a leaking shingle roof, here are the 7 key steps:
- Find the leak – Inspect your attic for water stains, then use a garden hose to pinpoint the source
- Gather your tools – Pry bar, roofing nails, hammer, utility knife, roof sealant, and replacement shingles
- Fix curled shingles – Apply roofing cement underneath and press firmly into place
- Replace damaged shingles – Pry up, remove nails, slide in new shingle, nail and seal
- Repair problem areas – Address flashing, vents, valleys, and chimneys with fresh sealant or replacement parts
- Apply a temporary fix – Use a tarp or plywood patch if a permanent repair must wait
- Decide on repair vs. replacement – Call a pro if damage is widespread or structural
Asphalt shingles cover nearly 70% of homes in the U.S. They are popular for good reason – they are affordable, durable, and relatively easy to repair. Most shingle roofs are built to last between 15 and 50 years.
But even a well-built roof can spring a leak.
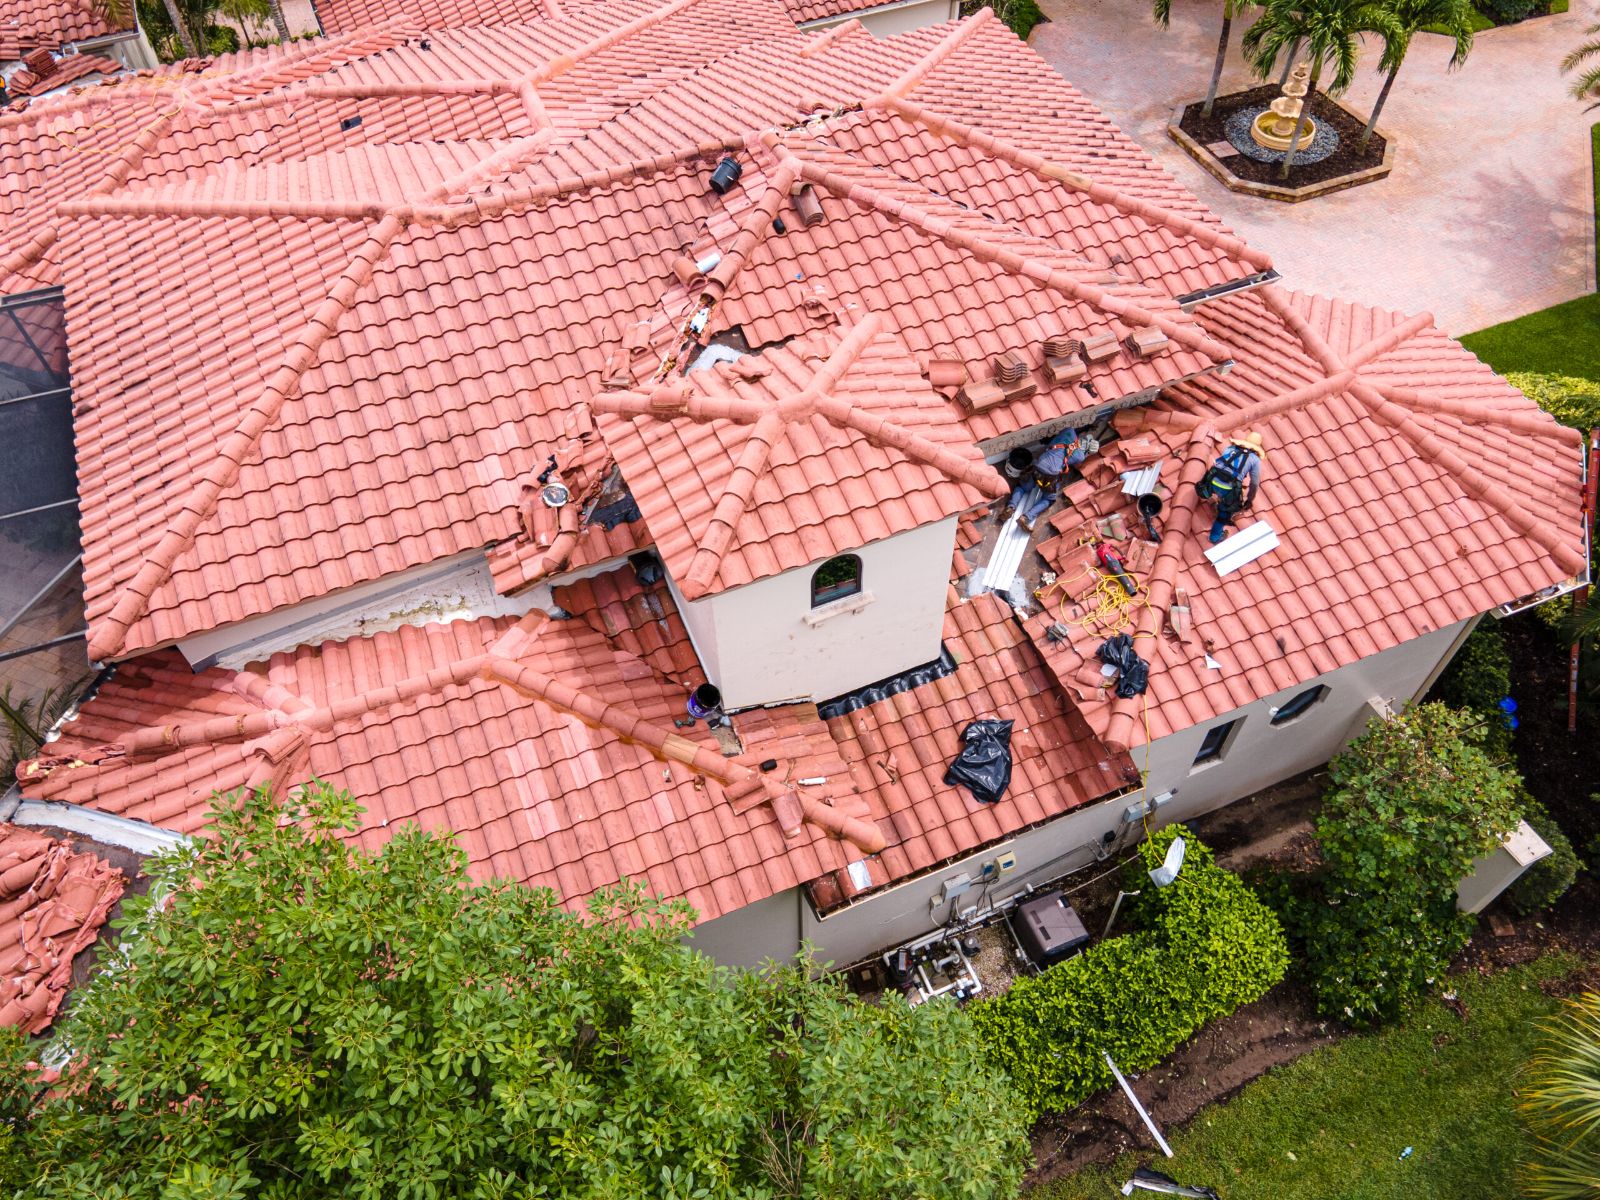
Florida homeowners face some of the toughest roofing conditions anywhere – year-round UV exposure, heavy rainfall, and hurricane-force winds. A small leak left alone can quickly turn into water damage, mold, and costly structural repairs.
The good news? Many shingle roof leaks can be caught early and fixed before they become serious problems.
This guide walks you through the full repair process, step by step.

Step-by-Step Guide to Repair Leaking Shingle Roof
Before we climb up to repair a leaking shingle roof, we need to talk about the most important part of any roofing project: safety. Working on a roof in Florida can be tricky due to the heat and the pitch of the roof.
First, always wear soft-soled boots. These provide the best grip on asphalt shingles and help prevent you from slipping. If your roof is steep, we strongly recommend using a Personal Fall Arrest System (PFAS) or a fall restraint system. Never work alone; always have a helper to steady the ladder and keep an eye on you from the ground.
Timing is also everything. You want to choose a dry, warm day. Why warm? Asphalt shingles are made of petroleum products. When they are cold, they become brittle and can crack if you try to lift them. When it’s warm, they are more pliable and easier to work with. However, avoid the scorching midday Florida sun, which can make shingles too soft and prone to tearing.

Safely Finding the Source of a Repair Leaking Shingle Roof
The trickiest part of a roof leak is that water doesn’t always move in a straight line. It might enter through a crack near the chimney, run down a rafter for ten feet, and then finally drip onto your ceiling. To find where the leak is coming from, we suggest starting in the attic.
Grab a flashlight and head into the crawlspace. Look for:
- Water stains or “tide marks” on the wooden sheathing or rafters.
- Black mold or mildew on the insulation.
- Damp spots or standing water on the top of the ceiling drywall.
If you can’t see an obvious entry point, it’s time for the garden hose test. Have one person stay in the attic with a radio or phone while the other person goes on the roof. Start low on the roof, spraying water near vents or valleys. Work your way up slowly. When the person in the attic sees a drip, you’ve found your culprit. This method is much more accurate than just guessing based on where the interior stain is located.
Essential Tools and Materials for DIY Shingle Repairs
You wouldn’t try to bake a cake without a bowl, and you shouldn’t try to repair a leaking shingle roof without the right gear. Most of these items are available at your local hardware store.
- Flat bar: Essential for prying up shingles and pulling old nails without damaging the surrounding area.
- Utility knife: Used for trimming new shingles to fit or cutting away damaged sections.
- Caulk gun: For precise application of sealants.
- Roof sealant: Look for asphalt roofing cement or high-quality rubberized sealants.
- Hammer: A standard claw hammer works, but a roofing hammer is even better.
- Roofing nails: Use 1.25-inch or 1.5-inch galvanized nails that won’t rust.
- New shingles: Try to match your existing color and style as closely as possible.
Instructions to Repair Leaking Shingle Roof Damage
Once you’ve found the leak and have your tools, it’s time to get to work. Here is how to handle the most common types of shingle damage.
Fixing Curled Shingles In the intense Florida heat, shingles can sometimes curl at the corners. This allows wind-driven rain to get underneath. To fix this, apply a generous dab of asphalt roofing cement under the curled corner with your caulk gun. Press it down firmly. If the shingle is stubborn, you can weigh it down with a brick for 24 hours until the bond sets.
Repairing Cracked or Torn Shingles If a shingle has a clean crack but isn’t missing, you can often repair it rather than replace it. Apply a bead of roof sealant under the crack and another bead on top. Spread the sealant with a putty knife. To make the repair invisible, find some loose granules in your gutter and sprinkle them over the wet sealant.
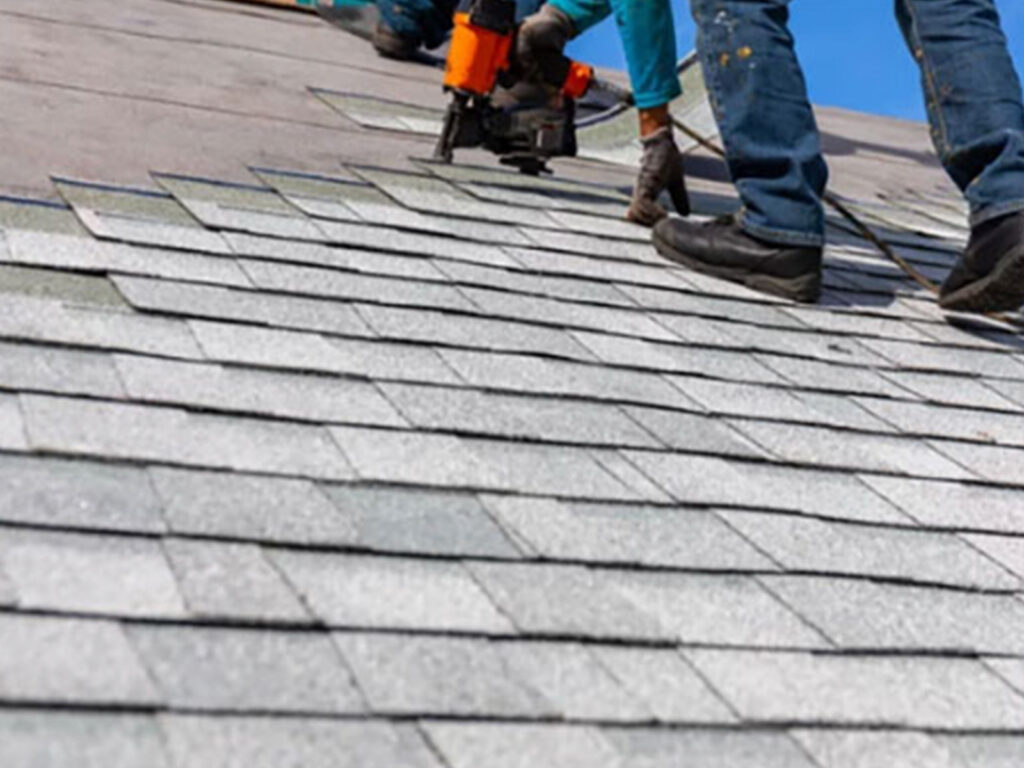
Replacing Missing or Heavily Damaged Shingles When a shingle is completely gone or badly torn, you need to replace it.
- Use your flat bar to gently lift the shingles in the row above the damaged one.
- Carefully pry out the nails holding the damaged shingle in place. You’ll usually find four to eight nails per shingle.
- Slide the old shingle out and scrape away any leftover cement.
- Take your new shingle and use your utility knife to round the back corners slightly. This makes it much easier to slide it into position.
- Slide the new shingle into place, aligning it with the shingles on either side.
- Nail it down using 6d galvanized nails. Make sure the nails are driven into the “nailing strip” and covered by the shingle above.
- Apply a small dab of roof sealant over the nail heads for extra waterproofing.
Emergency Measures If a storm is coming and you can’t perform a permanent repair, use a tarp. Stretch the tarp over the ridge of the roof so water can’t get under the top edge, and secure it with 2×4 wooden strips screwed into the roof (avoiding the shingles where possible). For actual holes in the roof deck caused by fallen branches, an emergency plywood patch secured with roofing cement can buy you time until we can get a crew out to your home.
Fixing Common Problem Areas: Vents, Flashing, and Valleys
Most leaks don’t actually start in the “field” (the flat parts) of the roof. They start at penetrations—places where things poke through the roof.
Plumbing Vents The rubber “boot” around your plumbing vent pipes is a common failure point. Over time, the Florida sun rots the rubber, causing it to crack. If the metal base is still good, you can often replace just the boot by sliding a new one over the pipe.
Flashing Flashing is the metal shielding used around chimneys, skylights, and where the roof meets a wall. If the sealant around the flashing has dried out and cracked, water will seep in. Clean out the old, brittle caulk and apply a fresh bead of high-quality roofing sealant. If the metal itself is rusted through, it must be replaced.
Valleys Valleys are the “V” shaped channels where two roof slopes meet. They carry a massive amount of water during a Florida downpour. Leaks here often happen because nails were placed too close to the center of the valley. To fix this, you may need to lift the shingles and install a new layer of ice and water shield or metal valley flashing. While we don’t get much snow in Naples or Orlando, these shields are excellent for preventing water backup. In northern climates, these same areas are where you must prevent ice dams to keep water from pushing up under the shingles.

Professional Solutions and Long-Term Maintenance
While many minor issues can be handled with a DIY approach, there is a fine line between a simple patch and a structural problem. Knowing the difference can save you thousands of dollars in the long run.
When to Call a Pro vs. Full Roof Replacement
One of the most common questions we get at Kelly Roofing is: “Can I just repair this, or do I need a whole new roof?”
If the damage is isolated—like a few shingles blown off during a summer thunderstorm—a repair is usually the smartest and most cost-effective choice. However, if you see signs of widespread failure, a replacement is inevitable.
Signs You Need a Full Replacement:
- Age: If your shingle roof is approaching the 20-year mark, the asphalt has likely lost its essential oils and will become increasingly brittle.
- Widespread Granule Loss: If your gutters are constantly filled with “sand” (granules), your shingles no longer have UV protection.
- Sagging: This is a sign of structural damage to the roof deck or rafters.
- Multiple Leaks: If you are playing “whack-a-mole” with leaks in different areas, the underlayment has likely failed.

| Service | Estimated Cost Range | Benefit |
|---|---|---|
| Roof Inspection | ~$200 | Catches problems before they become leaks. |
| Minor Shingle Repair | $200 – $600 | Fixes isolated wind or debris damage. |
| Flashing/Vent Repair | $350 – $1,500 | Stops leaks at the most common entry points. |
| Full Replacement | Varies by size | Provides 20-50 years of total peace of mind. |
A professional inspection is often the best investment you can make. It costs significantly less than a major repair and can pinpoint exactly how much life is left in your roof.
Preventing Future Leaks and Extending Roof Lifespan
We’ve been roofing in Florida since 1972, and if there’s one thing we’ve learned, it’s that maintenance is cheaper than repair. To keep your roof in top shape and avoid having to repair a leaking shingle roof unexpectedly, follow these tips:
- Bi-Annual Inspections: Check your roof every spring and fall. Look for shingles that are lifting, cracked, or missing granules.
- Clean the Gutters: Clogged gutters cause water to back up under the “starter” row of shingles at the edge of your roof, leading to fascia rot and leaks.
- Trim the Trees: Overhanging branches can scrape shingles during high winds, stripping away the protective granules. They also drop debris that holds moisture against the roof surface.
- Check Attic Ventilation: A roof that “breathes” stays cooler. Excessive heat in the attic can literally cook your shingles from the inside out, causing them to blister and fail prematurely.
At Kelly Roofing, we pride ourselves on unmatched craftsmanship and quality. Whether you are in Naples, Sarasota, or Orlando, our team understands the specific challenges the Florida climate poses to asphalt shingles. If you find yourself overwhelmed by a leak or simply want the peace of mind that comes with a professional touch, we are here to help.
From minor shingle-repair to full shingle roof replacement with hurricane-resistant materials, plus innovative Tesla Solar Roof installations, we help keep your home dry, durable, and protected.
Summary of Key Facts:
- Asphalt shingles make up roughly 70% of the residential roofing market.
- Finding the leak early (and fixing it fast) helps prevent bigger issues like rotten decking and mold.
- Most shingle roofs come with warranties in the 15 to 50 year range, but they usually require proper installation and ongoing maintenance.
- Regular inspections and small repairs can significantly extend the life of a shingle roof and reduce the risk of recurring leaks.
Don’t wait for the next big Florida storm to test your roof. Take action today to find, fix, and prevent leaks, ensuring your home remains the safe haven it’s meant to be.